
Artwork
How to prepare artwork for a cleaner apparel print.
4 min read
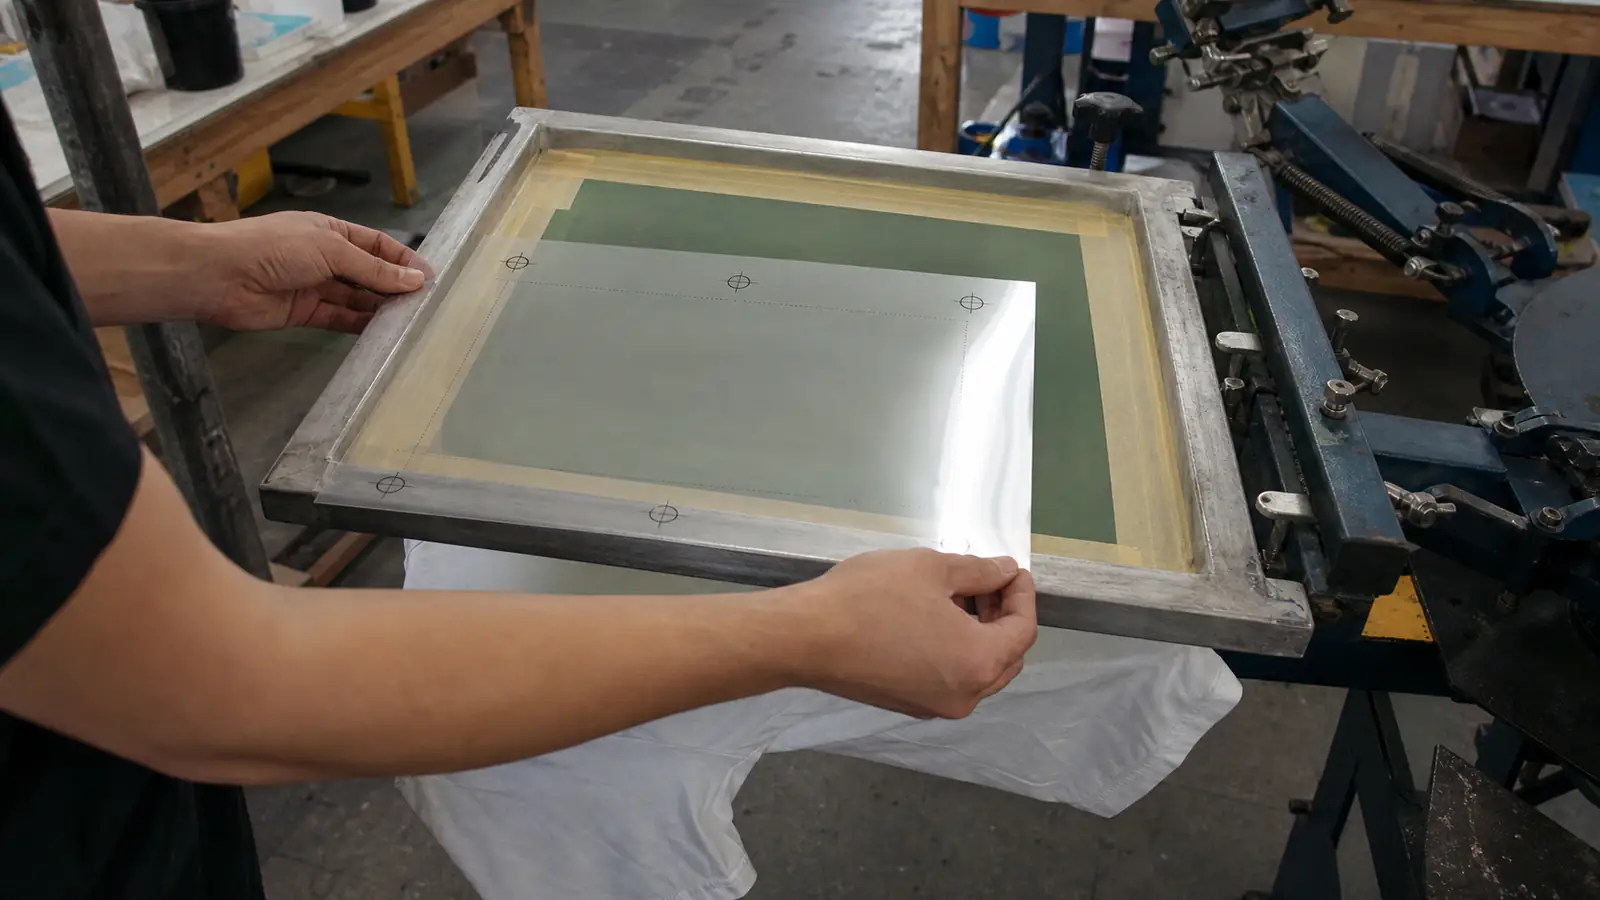
Good production starts before ink touches fabric. A clean source file gives us more control over size, edges, color separation, and the final placement on the garment.
Send the best source file you have
Vector files such as AI, EPS, or editable PDF are ideal for logos and flat graphics because they can scale without losing sharpness. High-resolution PSD, TIFF, or PNG files can also work well for raster artwork.
Avoid screenshots, compressed social media downloads, and images copied from a website when the original artwork is available.
Build at print size
Set the artwork close to the size you want it printed. If a raster image needs to be enlarged dramatically, its edges and textures may soften. A clear target width also makes the quote and placement conversation more precise.
- Include the intended print width
- Keep raster artwork at a useful resolution
- Outline or package custom fonts
Make color intentional
For screen printing, identify spot colors or share brand color references when a close match matters. For full-color work, remember that a glowing screen and a printed garment reproduce color differently.
Tell us which details are essential and where some interpretation is acceptable. That context helps us make better production decisions.
Show us the garment and placement
A left-chest mark, full front, sleeve print, and oversized back graphic each have different practical limits. Share the garment style, color, size range, and a rough placement reference with the artwork.